Here you’ll find your installation code and unique site ID.
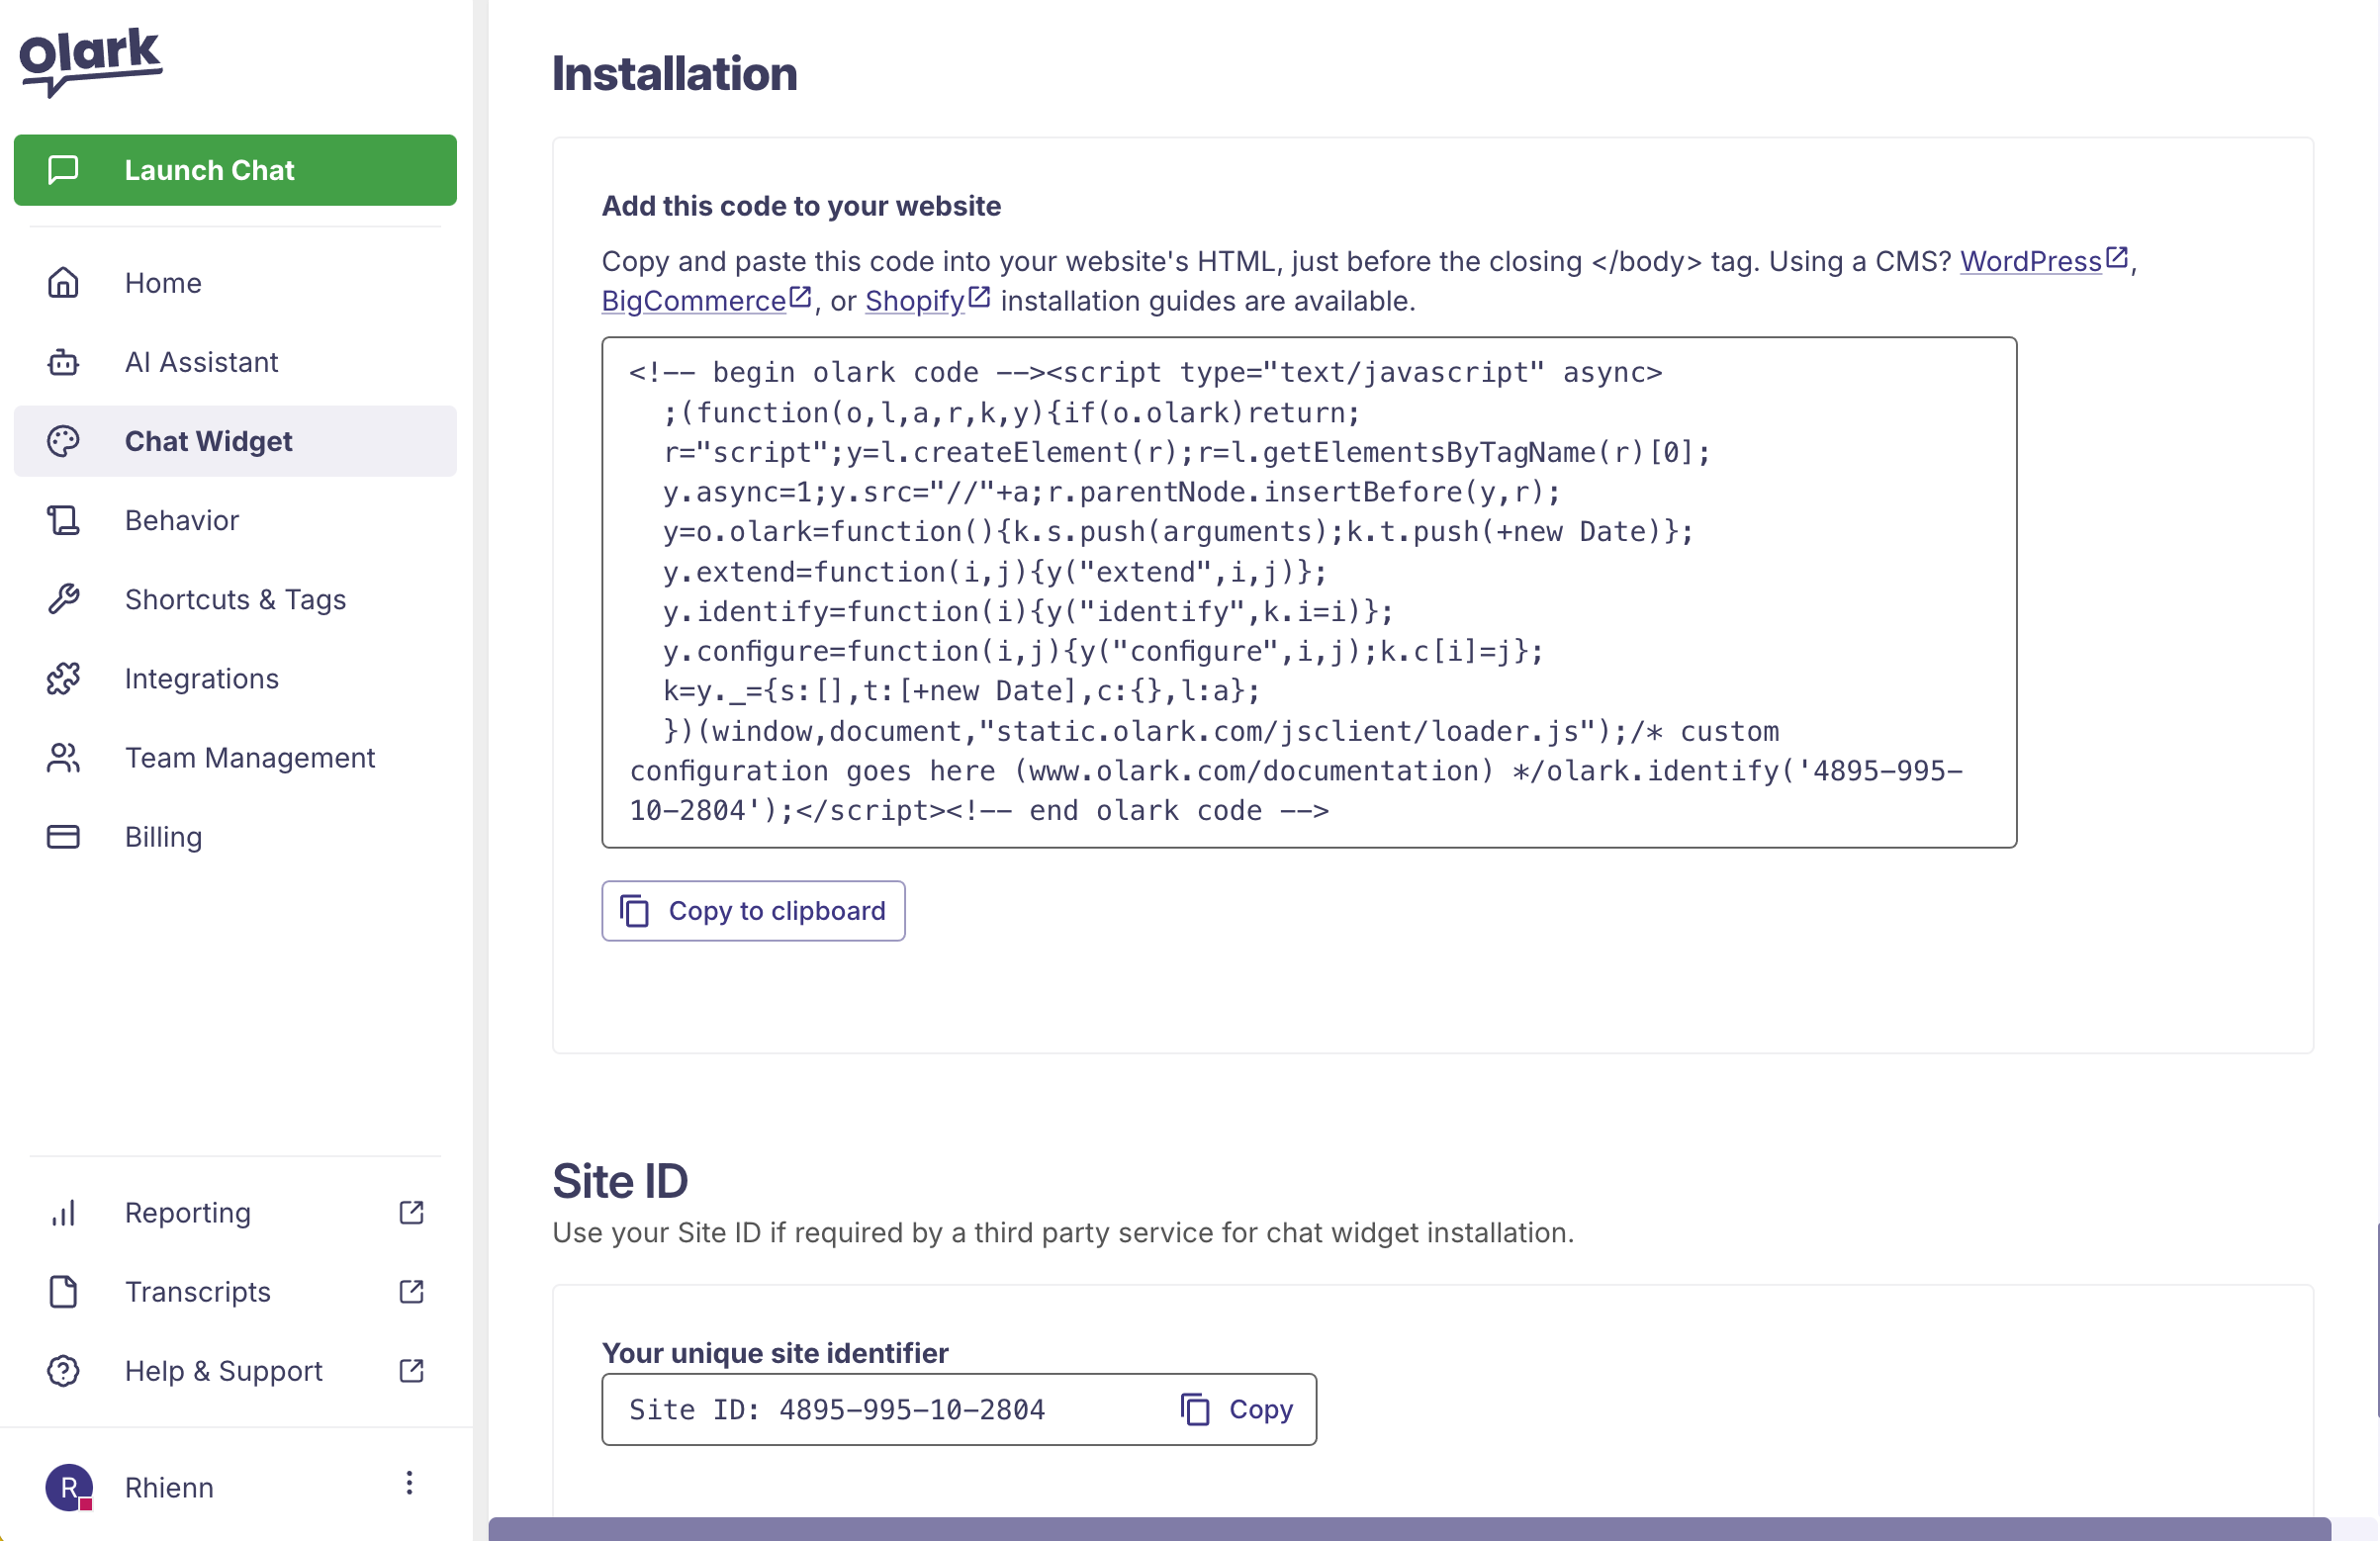
The Installation section of the Chat Widget Settings page. An example Olark install code and site ID are shown.

The Installation section

Standard or Manual Installation

Our standard installation method requires you to copy and paste your account’s unique javascript snippet immediately before your site’s closing tag. Make sure to copy the snippet from your own Olark account as it contains your unique site id. It should look like this:

    <!-- begin olark code -->         
      <script type="text/javascript" async>        
       ;(function(o,l,a,r,k,y){if(o.olark)return;        
       r="script";y=l.createElement(r);r=l.getElementsByTagName(r)[0];        
       y.async=1;y.src="//"+a;r.parentNode.insertBefore(y,r);        
       y=o.olark=function(){k.s.push(arguments);k.t.push(+new Date)};        
       y.extend=function(i,j){y("extend",i,j)};        
       y.identify=function(i){y("identify",k.i=i)};        
       y.configure=function(i,j){y("configure",i,j);k.c[i]=j};        
       k=y._={s:[],t:[+new Date],c:{},l:a};        
       })(window,document,"static.olark.com/jsclient/loader.js");        
       /* Add configuration calls below this comment */        
       olark.identify('YOUR_SITE_ID');</script>        
    <!-- end olark code -->  

Use the Copy to clipboard button to copy the code snippet and then paste it immediately before your website’s closing tag.

Plug-in or Content Management System Installation

Using a content management system? Follow the guide for your specific platform.

After Installation

Once you’ve copied and pasted your Olark embed code into your site’s source code, you’ll be ready start chatting live on your site!

Important: After installing on your website In order to answer chats, you’ll need to go to the agent interface (click Launch Chat from your Olark dashboard) and use the Status button to set yourself to available.