Adding an Agent (Olark Classic)
**NOTE: This help article was written for our Olark Classic chat console. Some things may not apply, may have moved, or may look different. For up to date chat console documentation, click here.
Inviting a new agent to your account
You will need admin-level access on your Olark account to invite new agents.
- Visit your Team page.
- Select the blue Invite Agent button at the top-left section of the page. If the button displays no available seats, you will need to first adjust your billing details or deactivate a current agent on your team.

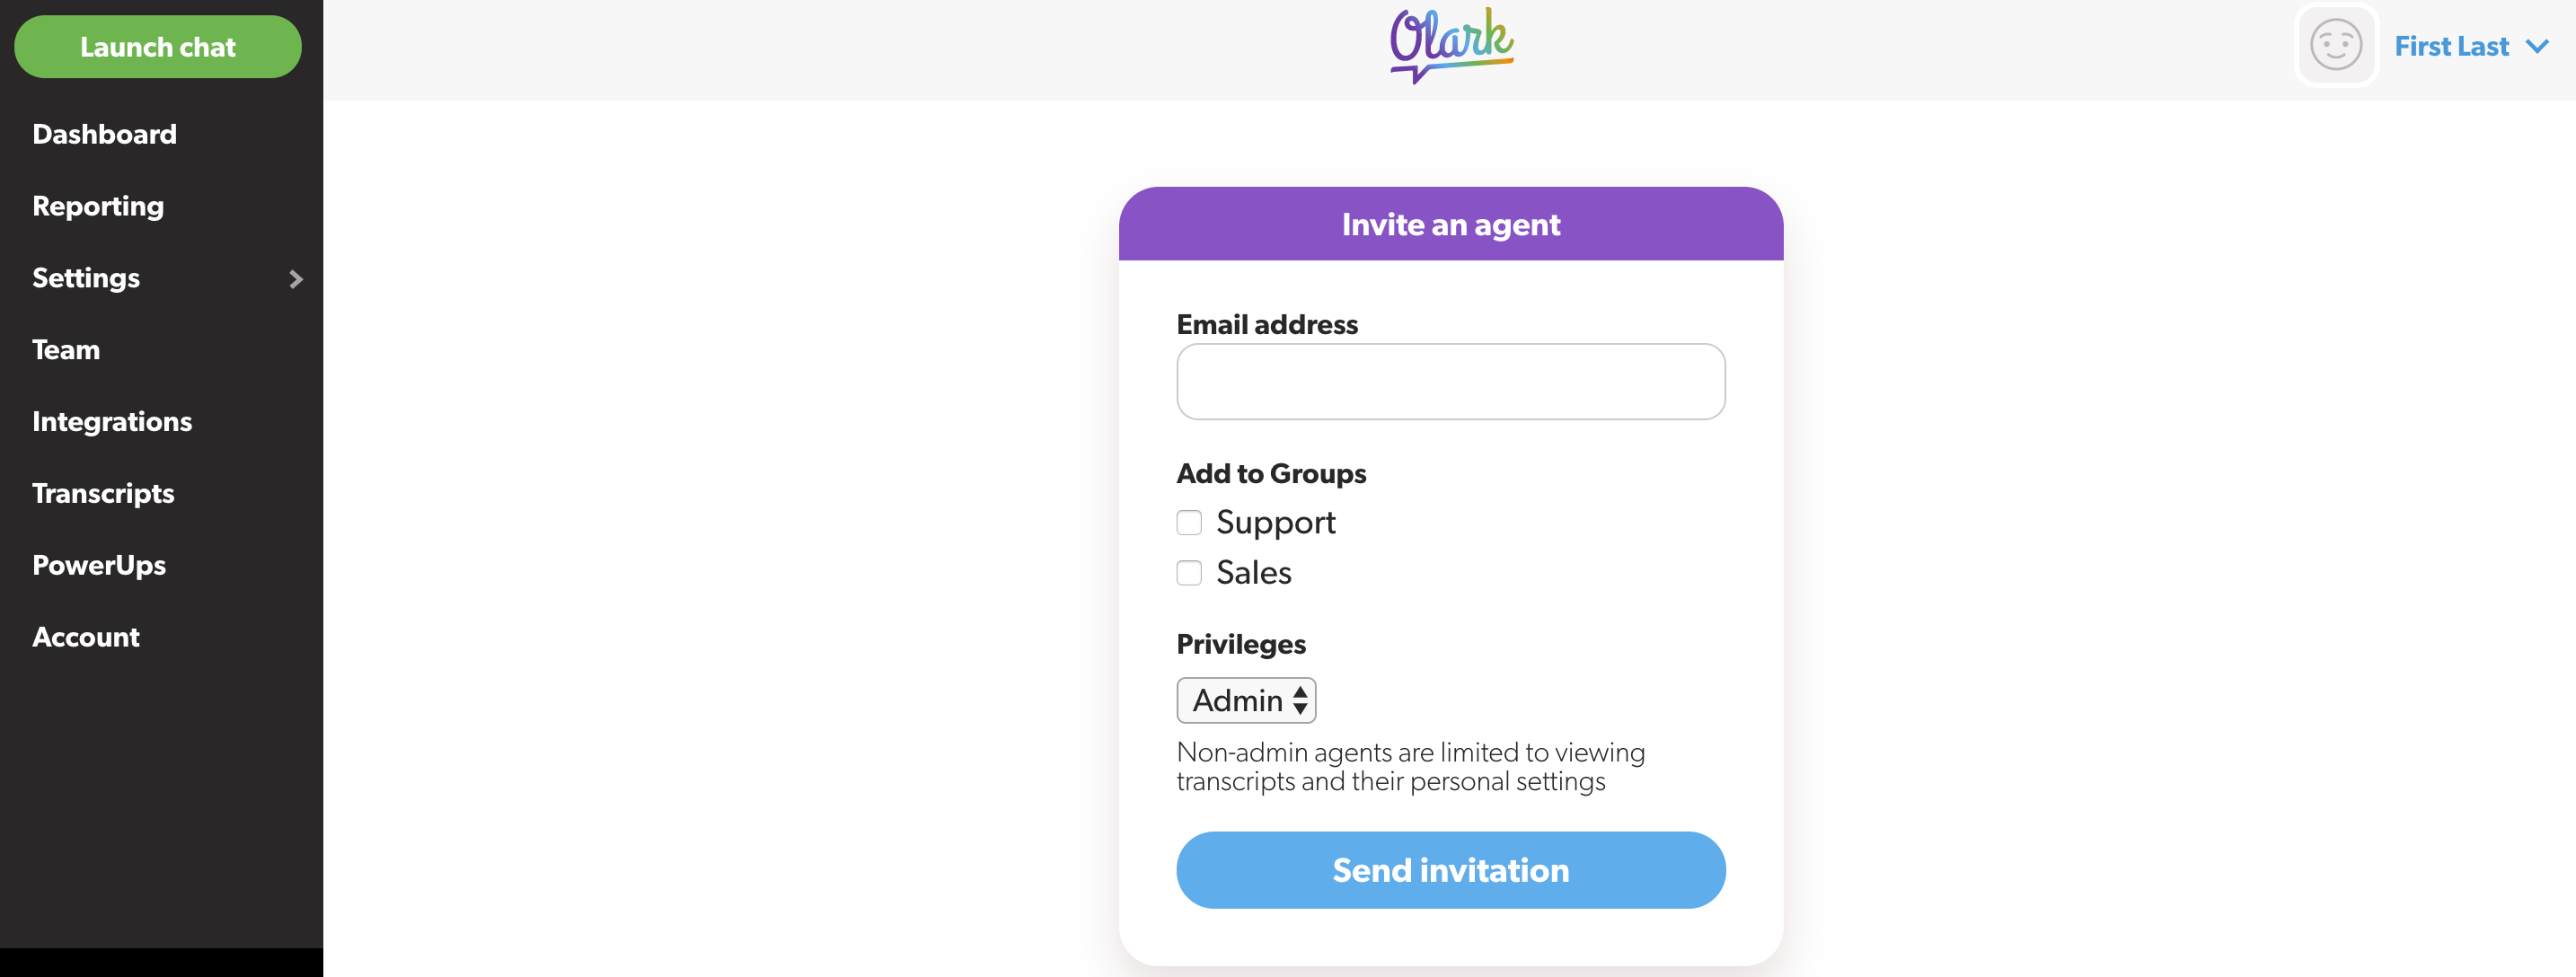
- Enter the agent's email address where the invitation will be sent. If your account uses agent groups for chat routing, select the group you'd like to categorize the agent under. You will also set the agent's privileges to Admin or Agent when creating their invitation.

- Click send invitation
Troubleshooting
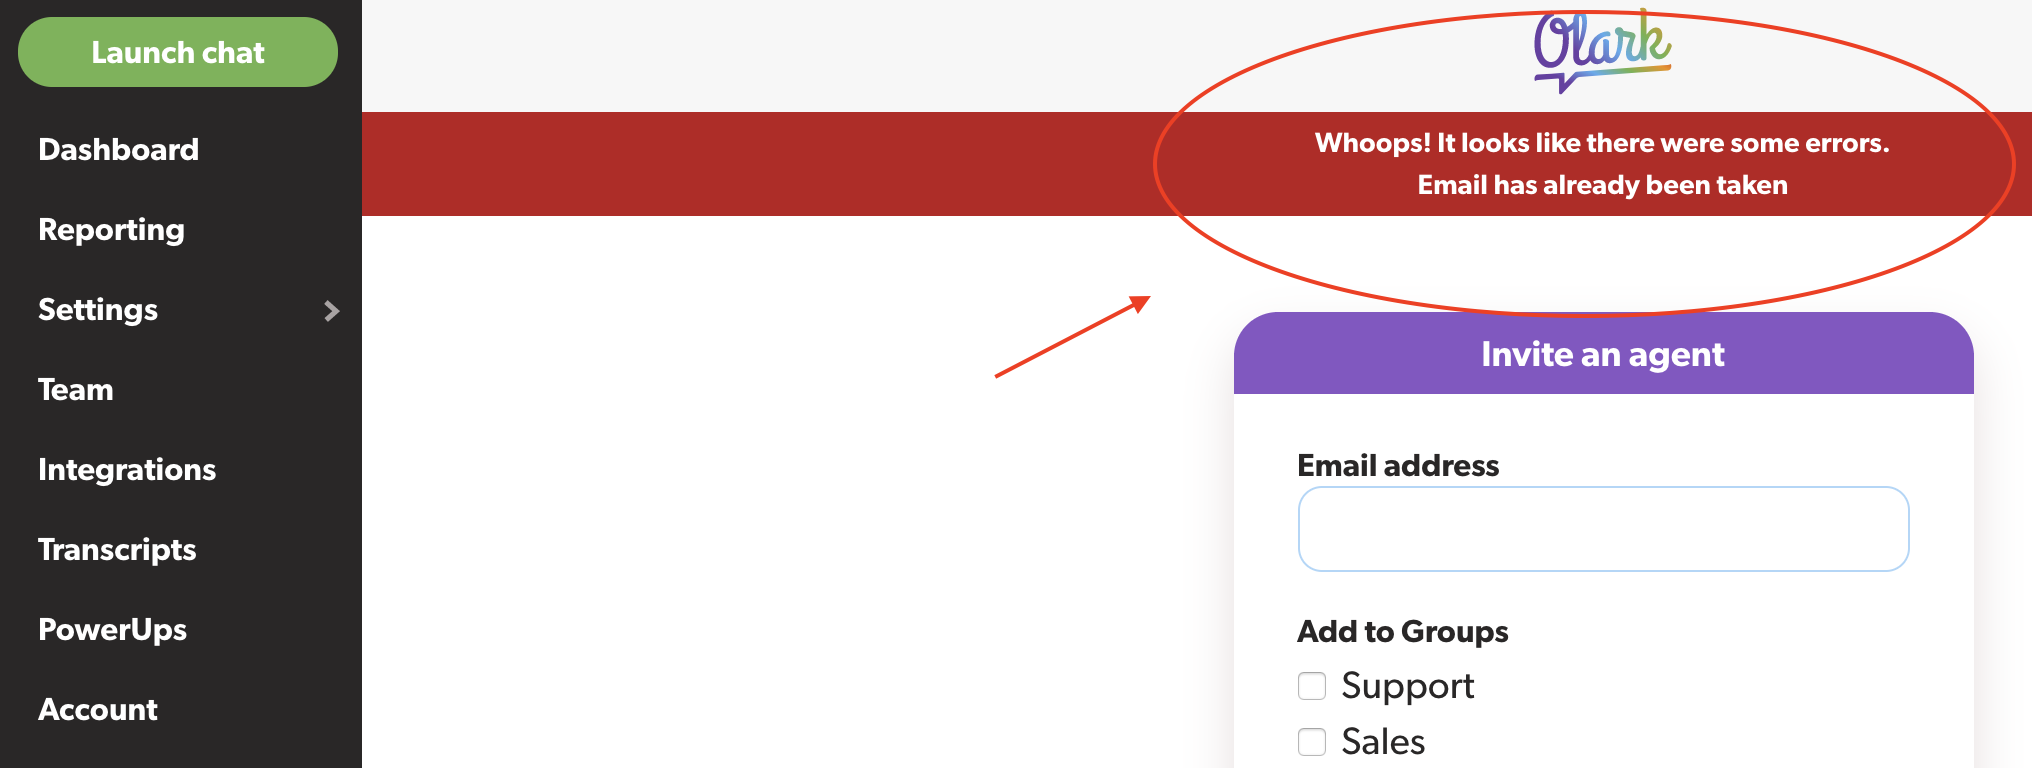
- An email can only be used once in our system. If the invited agent's email address is already in use in our system (within another account for example), the following error will appear.

- You can use a secondary email for the invitation or have the invited agent change their email address in the Olark account where the email address is already in use.
If you need assistance inviting an agent to your account, let us know! We are available through email or chat to answer your questions.
Oops! Something went wrong while submitting the form.
