
Zapier Integration for Olark Pro
This guide is intended for Olark Pro customers using the Pro Zapier integration. To learn more about Pro and the features included click here.
Important Notes
- Olark customers must purchase their own Zapier account that fits their needs for the integration that will be used. Click here to see more information on Zapier Plans and pricing
- The behavior of a Zapier integration is determined by the third-party organization that builds the integration. For example, a Salesforce Zapier integration may behave differently than a Hubspot Zapier integration. Please work with your account manager to determine if a Zapier integration will match your organization’s goals.
- Zapier and Olark
- If you are an Olark Tier II customer, you are responsible for building your own Zapier integration.
- If you are an Olark Tier III customer, you can invite your Olark Sales Engineer to your Zapier team account for integration build support and consultation.
Introduction: What Zapier does
Zapier is an automatic workflow platform that allows users to integrate more than 5000 applications. Olark is included in the apps that Zapier integrates with, and your preferred CRM, ordering system, or database might be too.
The Olark Pro Zapier Integration allows you to integrate your live chat, bot chat, and third party systems. An Olark Pro Zapier integration can automate many tasks, such as creating tickets and populating custom fields in your support system, pulling data from an ordering system, or discovering a visitor’s account manager.
Zapier integrations are designed by the third party application that partners with Zapier. Olark does not determine the behavior of individual Zapier integrations.
Setting Up Your Zapier Integration in Olark
The first thing to do when setting up a Zapier integration is to create a Zapier Integration inside of Olark. In this section, we will prepare your Olark account to communicate to Zapier.
Before getting started:
- Talk with your account manager to determine if the Zapier integration is a good fit for your chat solution. Part of this check will be identifying your integration goals. If the Zapier integration does not connect with your third party system or does not offer the behaviors you need, you may need to use Olark’s webhook option instead of Zapier.
When you have confirmed you will be using Zapier, your account manager will enable Pro Zapier on your account. Follow these steps (note that you’ll need admin level permissions in Olark):
- Log in to your Olark account
- Go to Settings > Integrations
- Click the key icon next to Zapier Pro
- Click “Generate API Token.” This will create an API key and tokens. Keep these secret and nearby, you’ll need them in later steps.
- Reach out to your Olark Account Manager and let them know you have created your Zapier channel.
Create a one-way integration in Zapier
Once you have set up your Zapier channel inside Olark, you can move on to setting up your Zap in Zapier. In this section we will cover:
- Connecting Olark with your Zapier account
- Connecting your third party system with Zapier and sending Olark data to it
- Testing the connection
At this stage you should have received an invite to the Olark Pro account in your Zapier account. If you have not, please contact your Account Manager before proceeding.
Create the Zap in Zapier
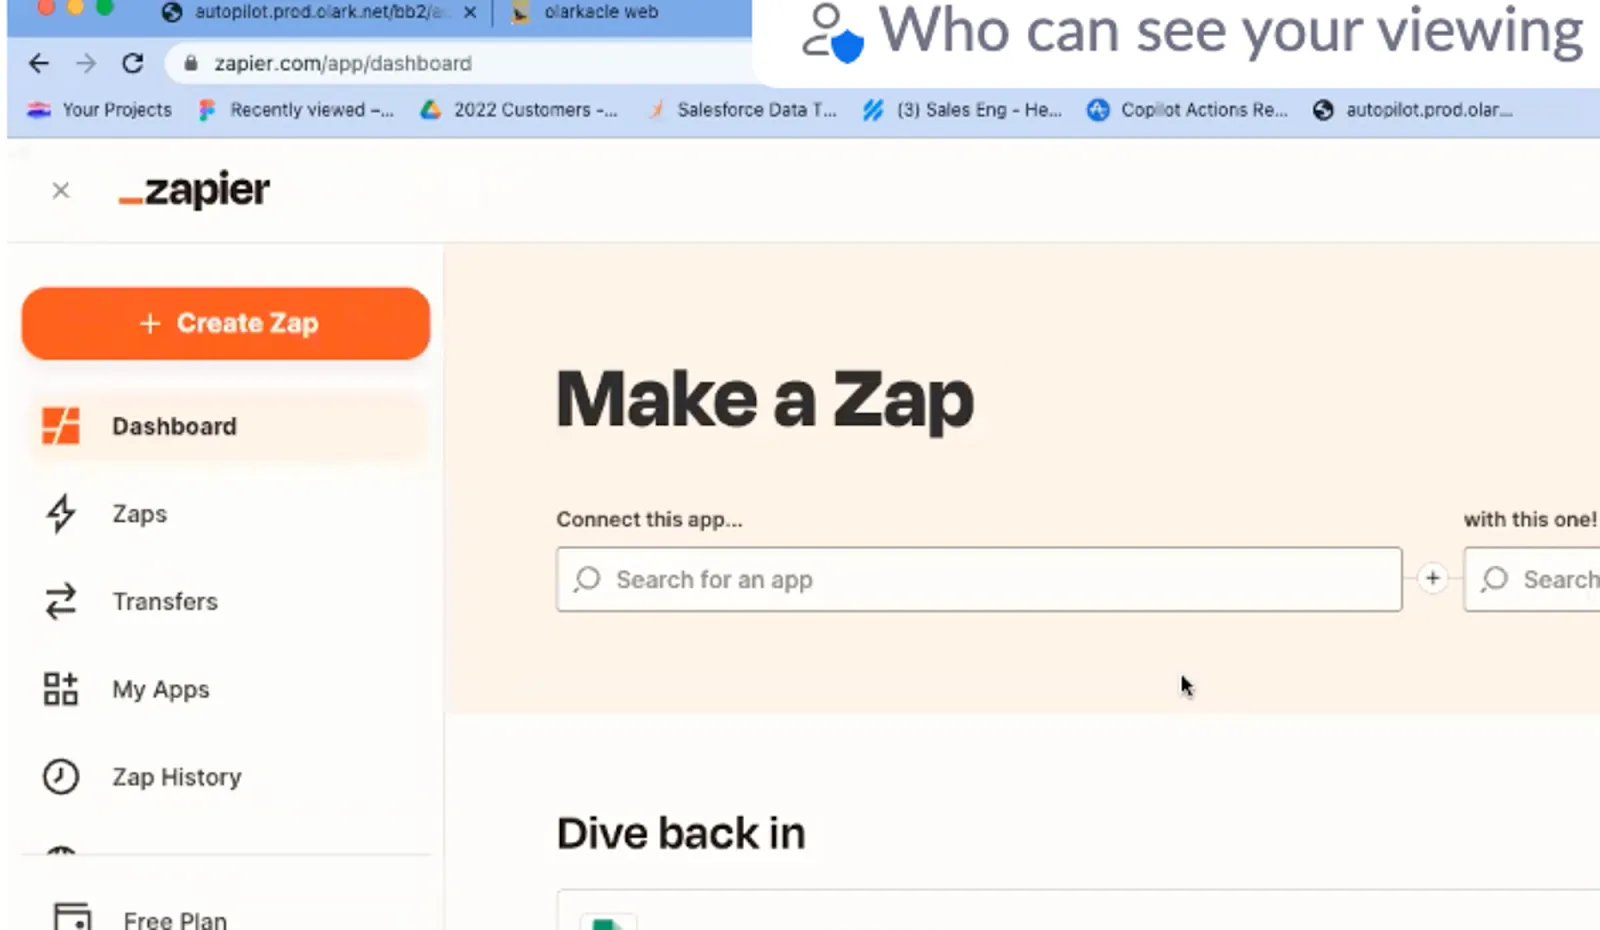
- Log in to your Zapier account and click “+ Create Zap”
2. Under trigger, search for “Olark” and select “Olark Pro”
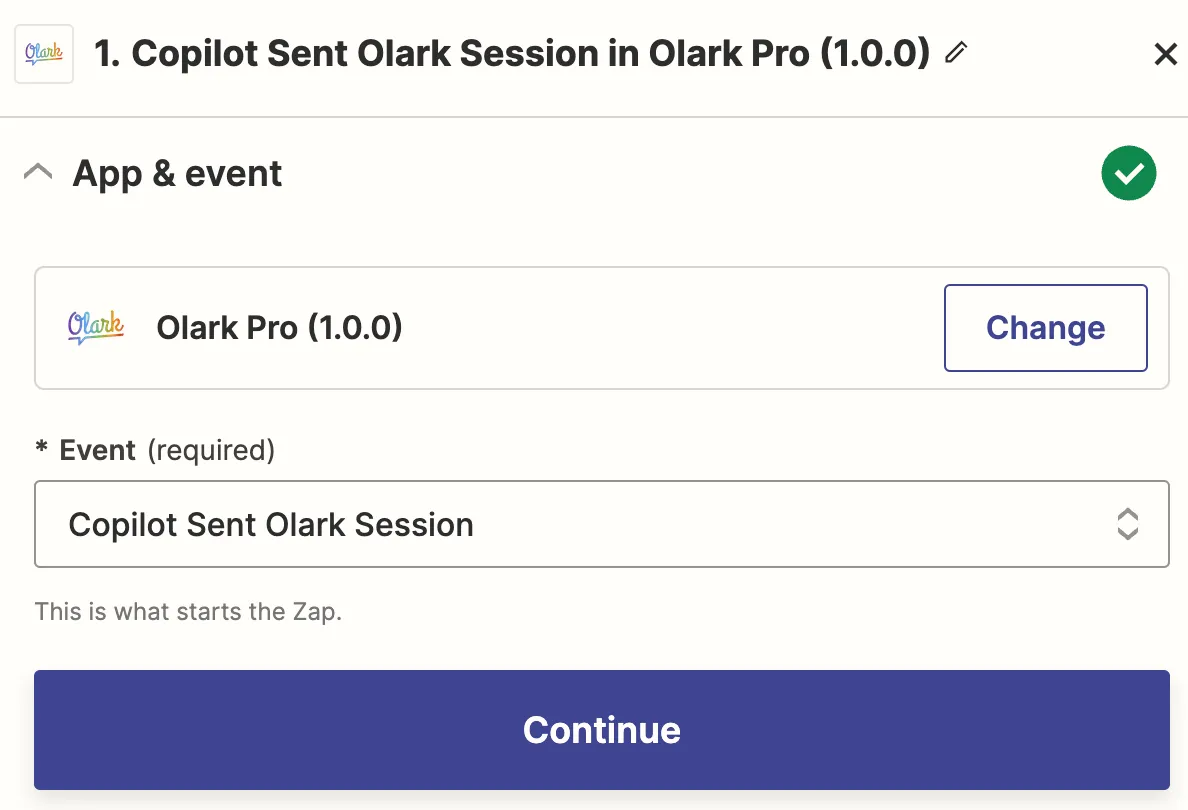
3. Under “Event” select “Copilot sent Olark Session” This tells the Zap that when your chatbot sends Olark data to Zapier it should start running the steps in the Zap. Click Continue.
4. Under Account click “Sign in.” Selecting this option will trigger the authentication flow and open up this window:
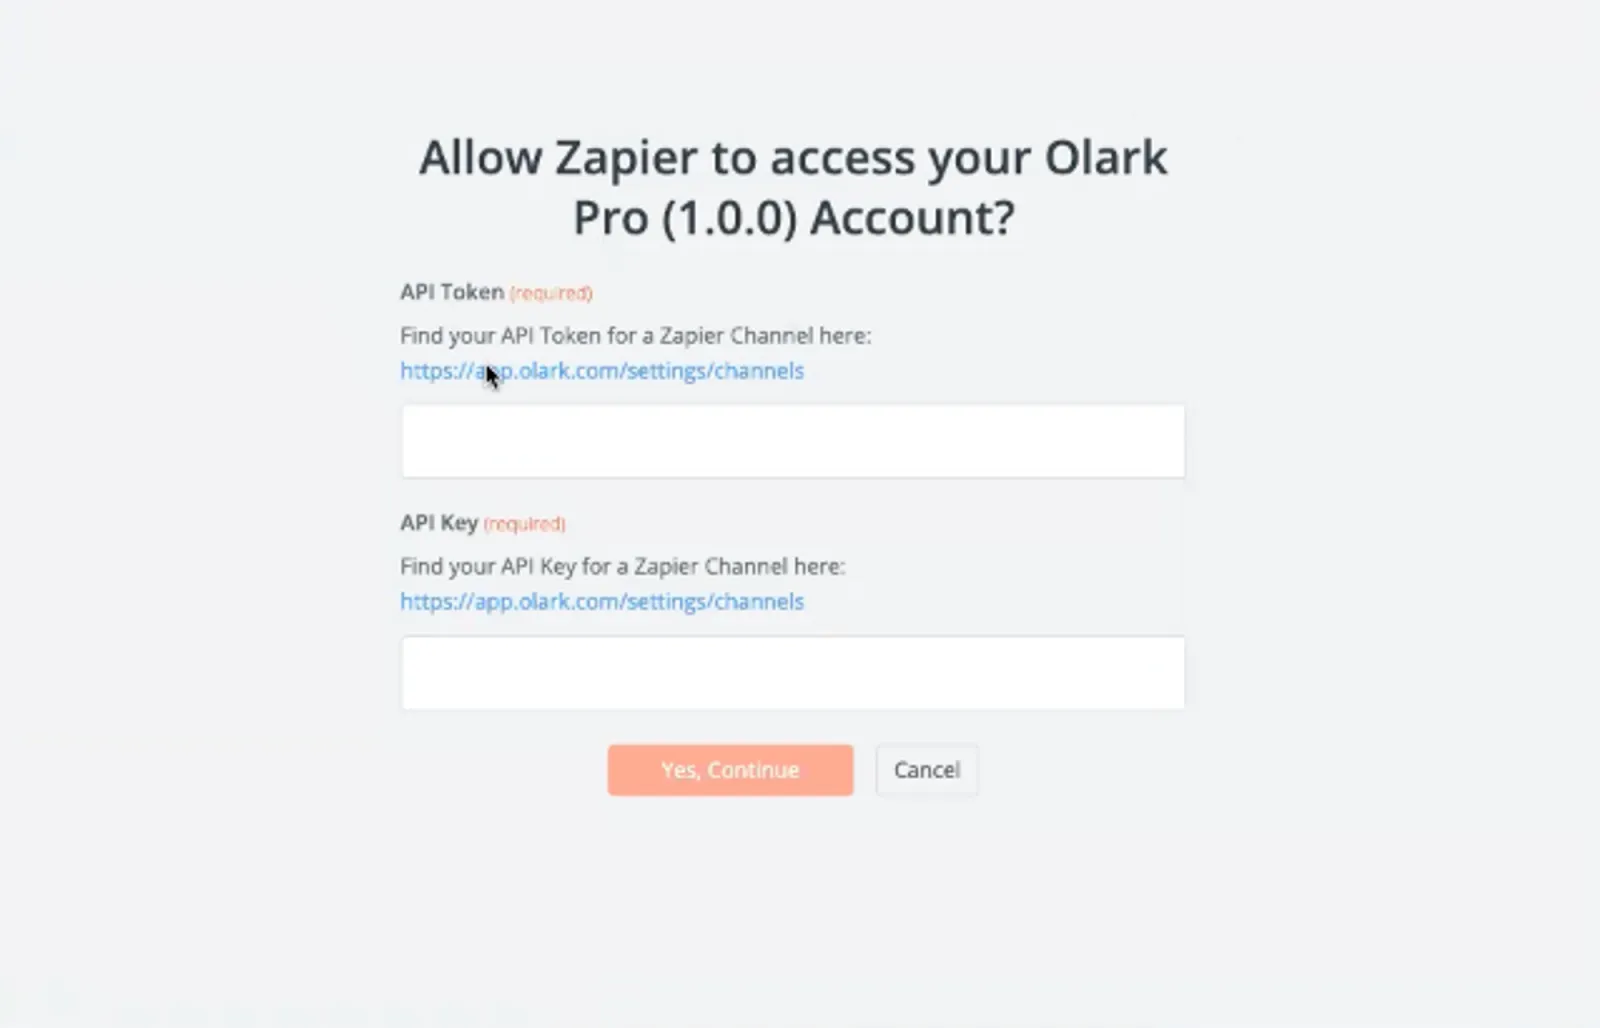
5. Enter the API Key and Token that was generated for you when you set up the Zapier Channel inside Olark. Be sure to enter the Key and Token in the correct fields (sometimes the fields switch order so special attention is required here.) Click “Yes, Continue” and then “Continue” after the authentication is complete.
6. Click “Test Trigger” and Zapier will attempt to import data from a recent chat to test your connection. Select one of the sessions provided and click “Continue with selected record”
Tell the Zap what actions to take
Next we’ll add an Action. You can build actions that use a variety of third party integrations! This Help article uses a CSV in Google Sheets that acts as a stand-in for a third party CRM system for the purposes of demoing how to connect to third party systems. Your third party integration fields will look different if you are using a different integration.
- To connect your preferred third party application, search for your app, and select it under “Add an Action”
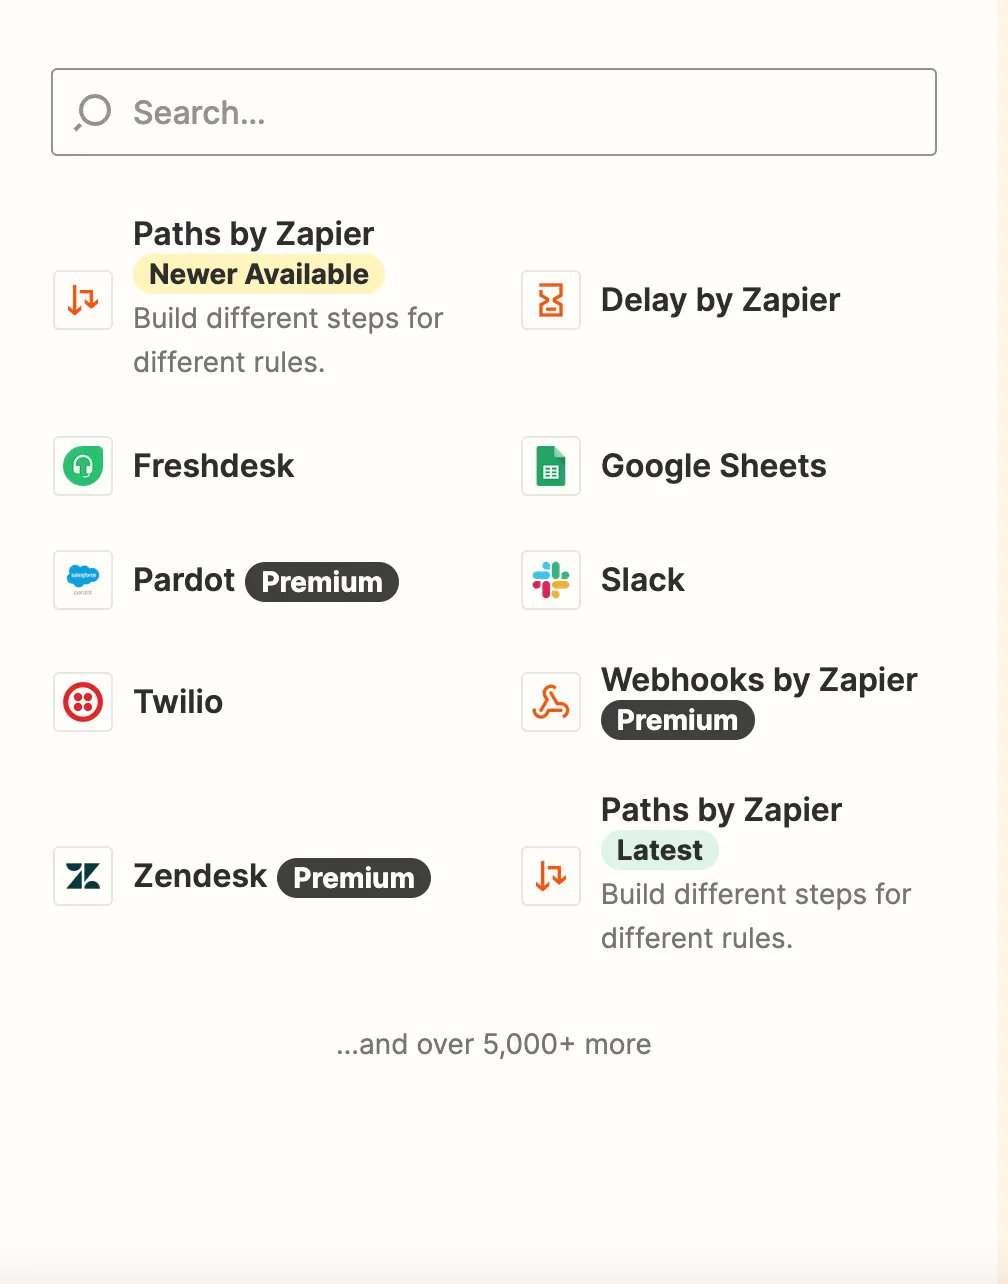
For this demo, we’ve selected Google Sheets and chosen “create spreadsheet row” as our Event. Then we went through the authentication process to connect to our Google Sheets account and chose the Google Sheet that the Zap should send our Olark data to.
Zapier asked us to map the data from our Olark chat to the corresponding fields in our spreadsheet. When setting up your integration, you’ll want to pay careful attention that you’ve mapped the fields from Olark to the corresponding fields you’d like data populated into.
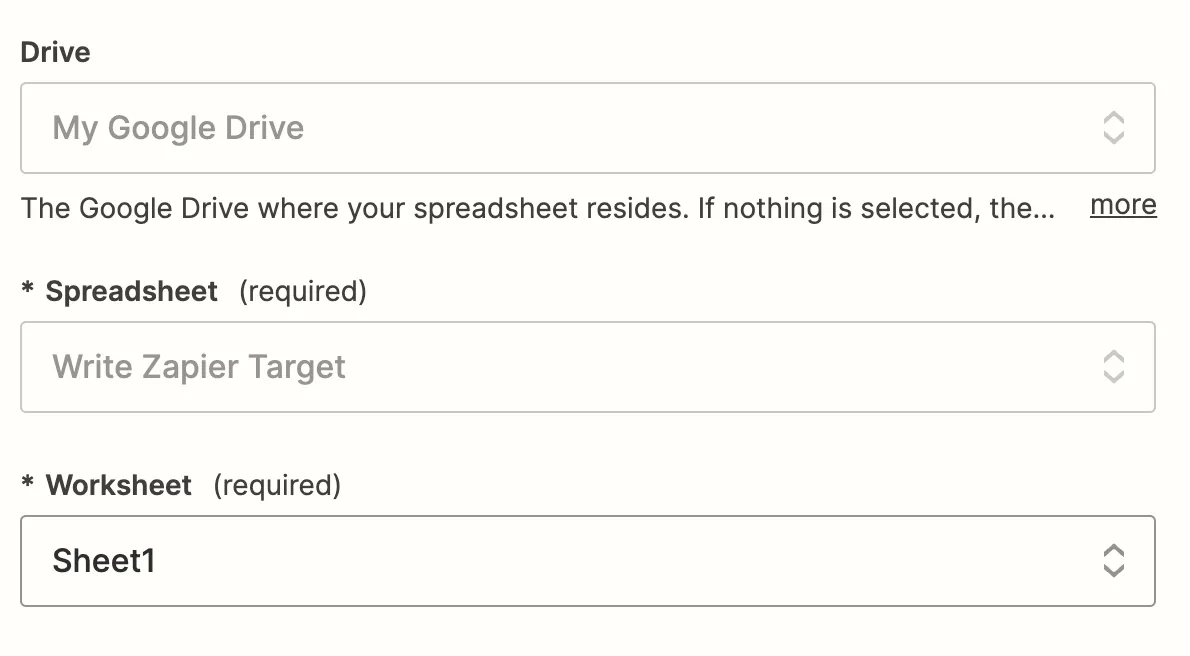
Test your newly set up Action(s)
To make sure that Zapier is connected to your third party app and data is populating correctly in the fields, click “Test Step.” Once the test is complete, check your destination app for the data that was sent.

Publish and Name your Zap.
Click “publish” to save and enable the Zap.
Make sure to name your Zap something unique and recognizable.
Contact your account manager
Finally, let your Olark account manager know that you have created your Zap and sent a successful test.
Creating a two-way integration in Zapier
So far this guide has described using Zapier to write data from your Olark chat to your third party system. There are cases where it is valuable to return data to the agent console or chatbox, like finding a visitors account manager, a recent order, or a link to a CRM record for a live agent to access. The Olark Bot or live agent will then be able to use this data in the conversation.
In order to set up a two directional Zapier integration, you must first set up the Zapier Channel inside of Olark as described in the first section of this guide “Setting up your Zapier Channel in Olark”
Create the Zap in Zapier
- Log in to your Zapier account and click “+ Create Zap”
- Under trigger, search for “Olark” and select “Olark Pro”
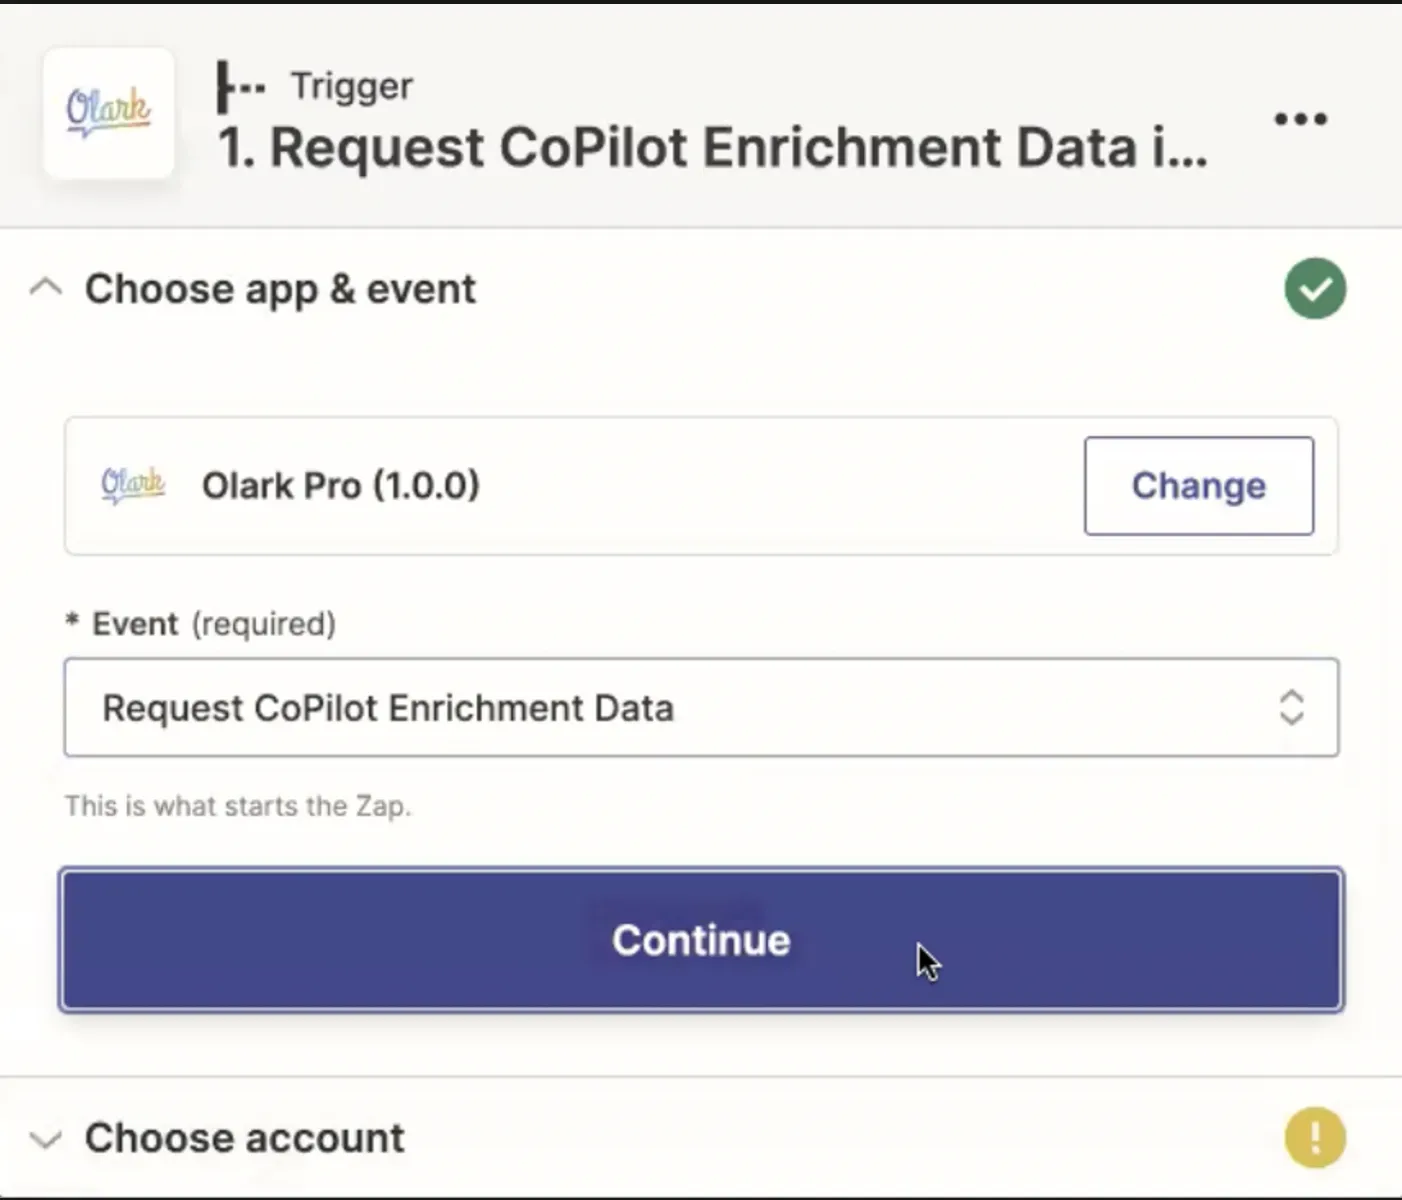
- Under “Event” select the Event “Request Copilot Enrichment Data.” This tells the Zap that when your chatbot sends Olark data to Zapier it should start running the steps in the Zap. Click Continue.
4. Add the target application for the integration (Google Sheets, CRM, wherever the information will be coming FROM)
Tell the Zap what actions to take
For most use cases where Olark is connecting to a CRM, we’d like the CRM to return one record based on some search criteria. (For example, find and send us the internal account number associated with someone’s email address)
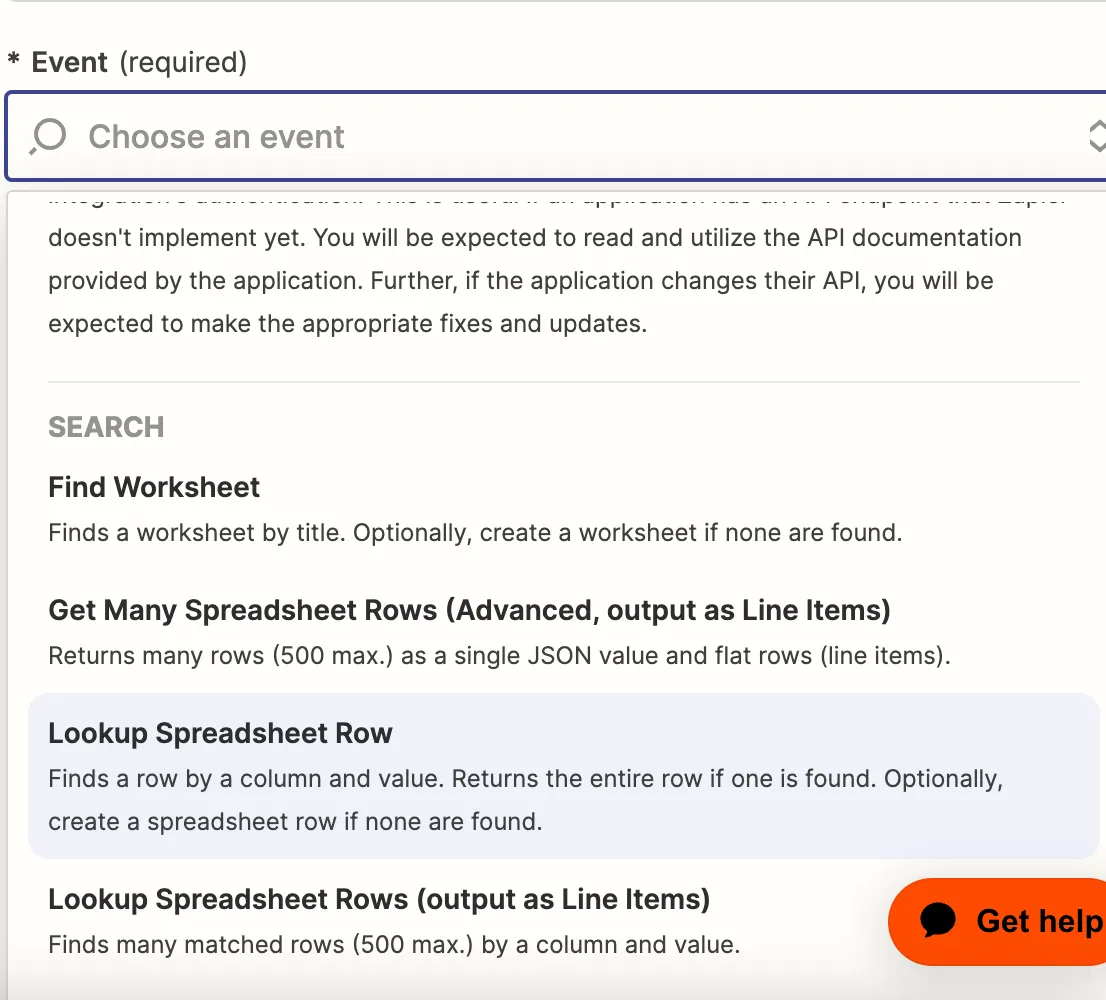
- Under Event, scroll down to the Search section of the event drop down menu and find the appropriate action that will search for a single record from the CRM or third party service.
- Define the Action’s steps.
This is where you will tell Zapier where to look for data and what to search for. For this help article, we will show how to find a data row in a Google Sheet using data from Olark chat. We’ve chosen the appropriate spreadsheet and the worksheet within the spreadsheet where our data is contained.
Your third party integration will have different fields and steps based on the specific application you’re connecting to and the action your Zap is taking.
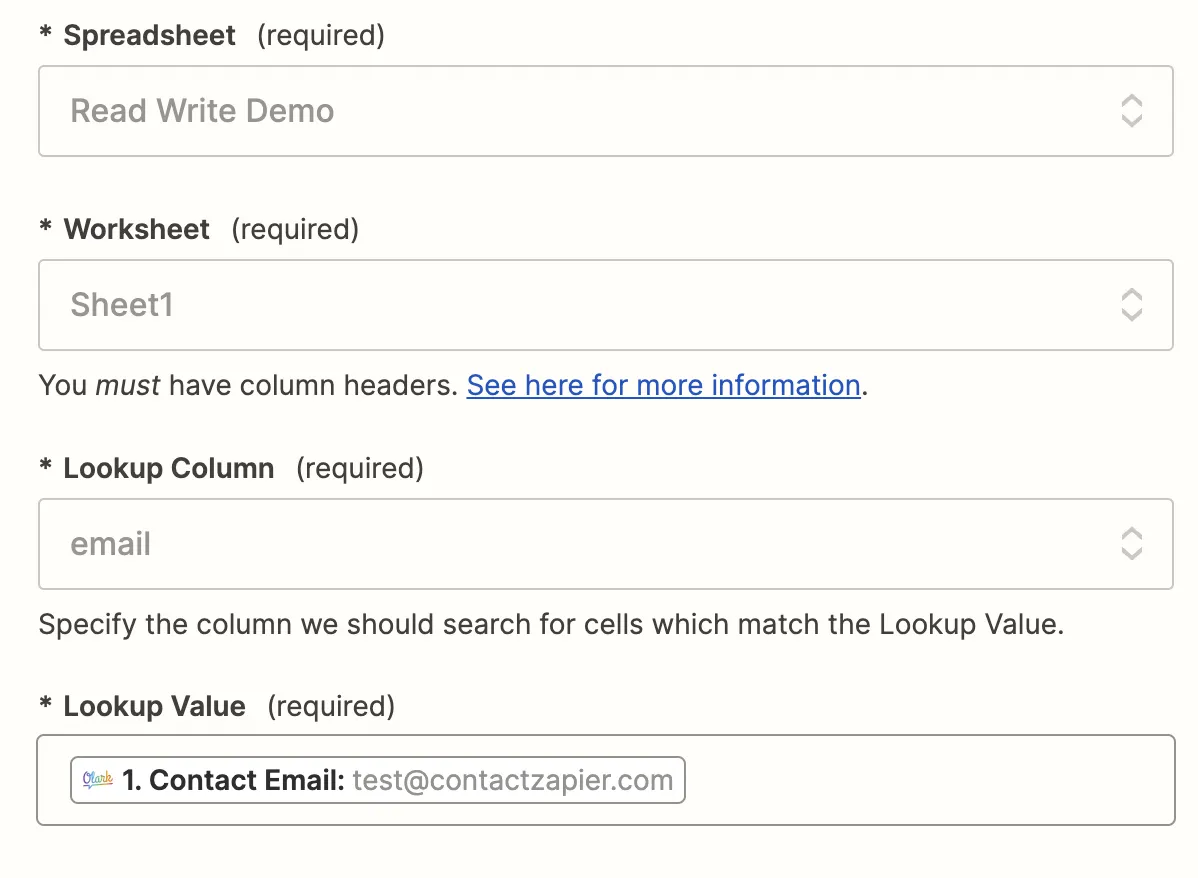
- Define a Lookup Value
Most often, the Lookup Value will be the field from the Olark bot that contains the data Zapier will search for in your 3rd party application. In most cases, Contact Email is used as the identifier to find a record in a CRM. In our example, we’ve chosen the Olark field “Contact Email” - Consider what should happen if nothing is found.
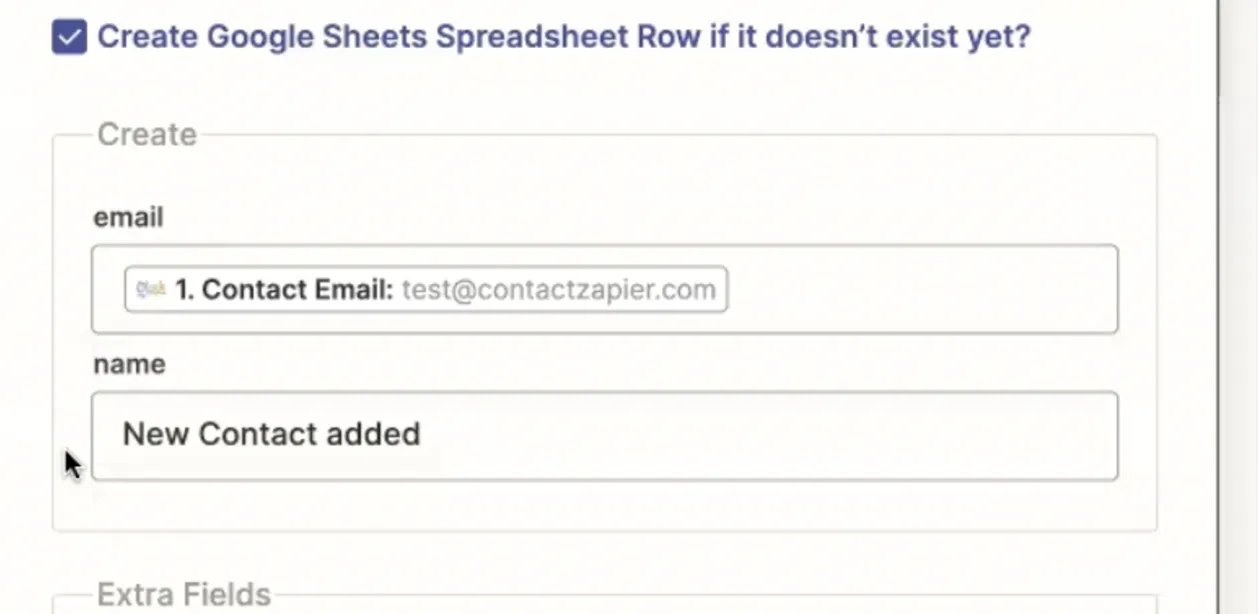
The behavior you choose will depend on your use case. For example, if the search finds no results, you may want nothing else to happen. Alternatively, you may want to create a new record in your app for the record.
When creating a record, only data available to Olark Chat or a fallback default value can be used to populate a field. In the example below, “New Contact added” is the default text that will populate in the name field since no Olark data has been mapped to that field.
Send the data back to Olark Chat
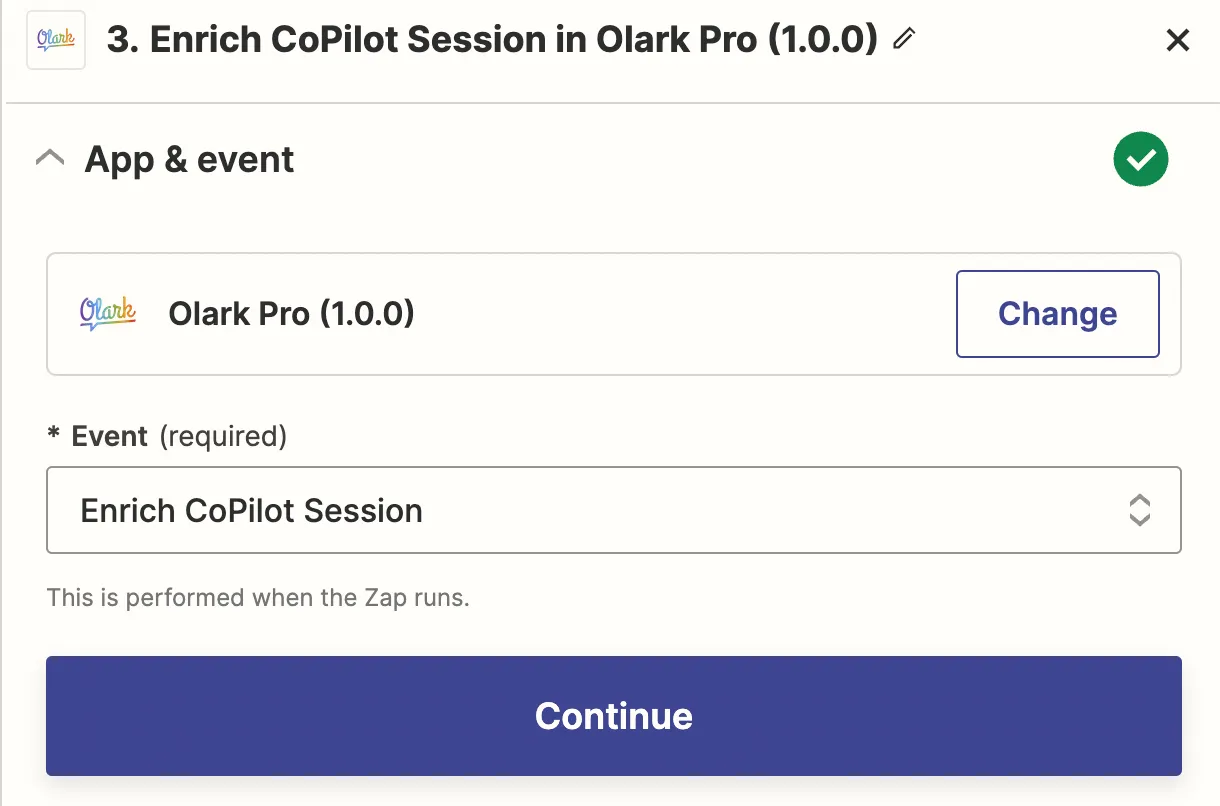
1. To push the data back to Olark, click the + under you existing Zap steps to add another action to the Zap
2. Choose “Olark Pro” as the application
3. Under “Event” choose ‘Enrich Copilot Session’
2. Under Action, search for “Request ID” and choose the Olark field Request Id. This ID allows the zap to send data back to the correct Olark conversation.
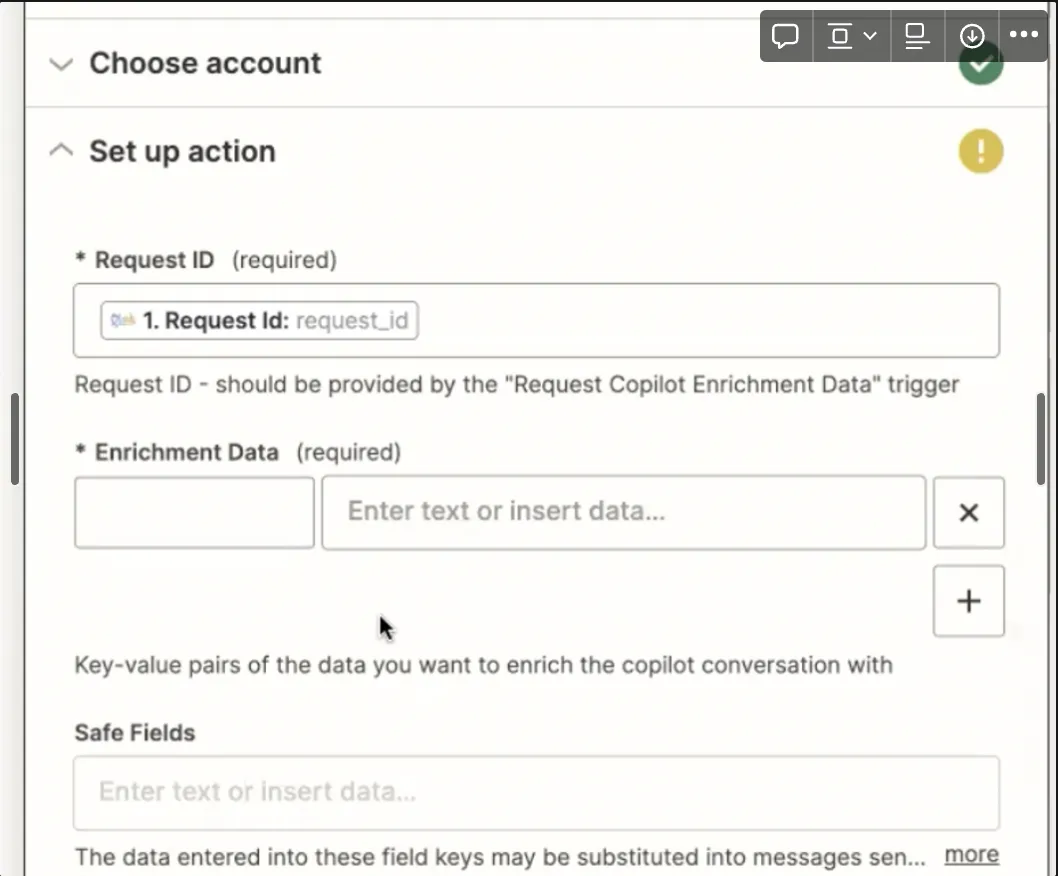
3. Under ‘Enrichment Data’, define the fields from your CRM (in our example case we use Google Sheets) that should be sent back to Olark. All fields that will be used in the conversation must be defined here.
In the first field, specify the field label. (In our example we typed in "Name”)
In the second field, choose the data field from your CRM or other application that should be sent to Olark (for our example, the “Name” field from our Google Sheet)

Safe Fields
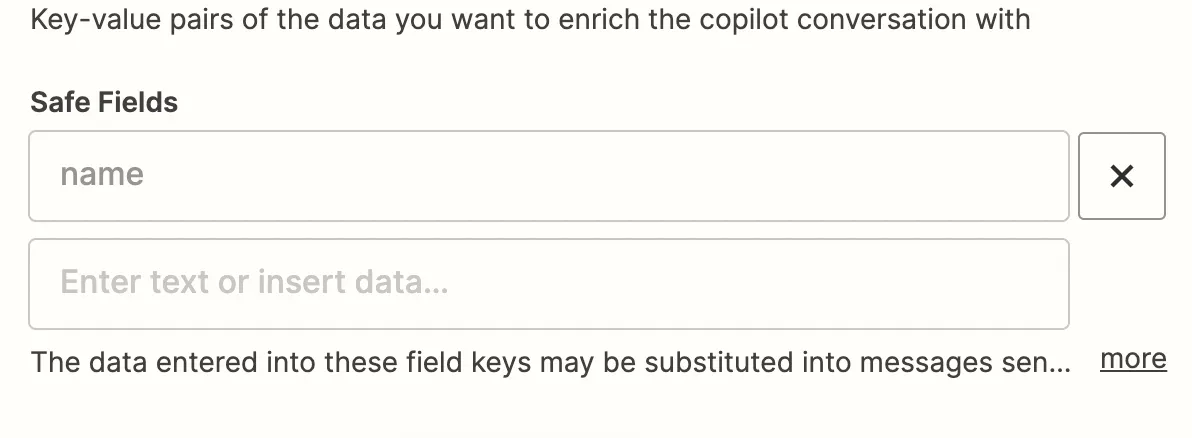
Safe Fields allow you to stipulate which data is safe to use in messages to visitors.
For example, it may be useful to use addresses from an integration for use in location identification, but would not be acceptable to send an address to a visitor, so we would not add the address field in the Safe Fields list.
You might allow a visitor’s first name to be sent in a chat, so you would add the first name field to the list of Safe Fields.
Enter the field name label you used in the Enrichment Data section to add that field to the Safe Fields list. In our example we’ve added the “name” field.
Publish your Zap
The final step is always to ensure you’ve published your Zap and that it’s toggled to “on”
