
Slack Integration Guide
Connecting Olark and Slack
- Log into Olark and go to the Slack integration page. Click Add to Slack.
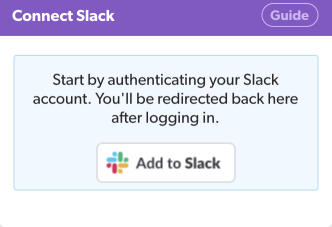
- You'll be redirected to Slack where you'll need to login if you're not already authenticated.
Important Note: You'll need to login as the Slack Workspace Owner for the connection to be set up correctly.
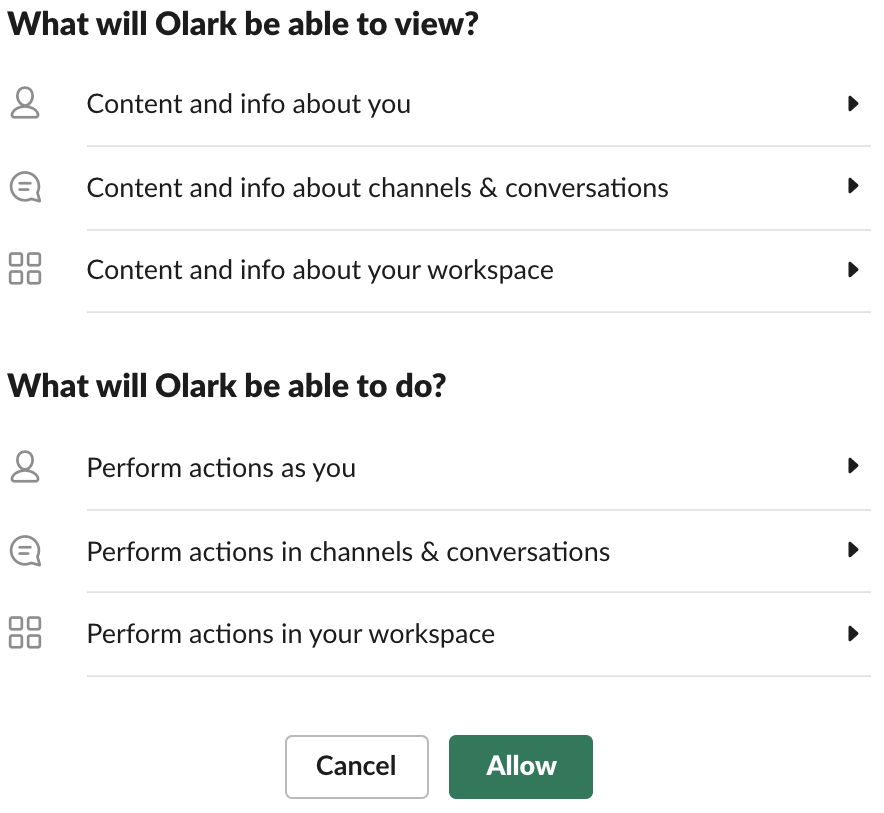
Once logged in, click Allow to grant Olark the ability to send messages to Slack.
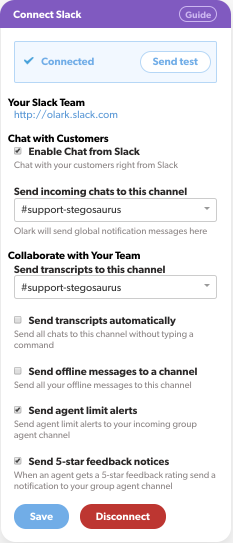
- You'll be redirected back to the Slack integration page with the integration listed as connected. You can configure the rest of the options to your liking, and you'll be all set! Happy chatting.
Using the integration in Slack
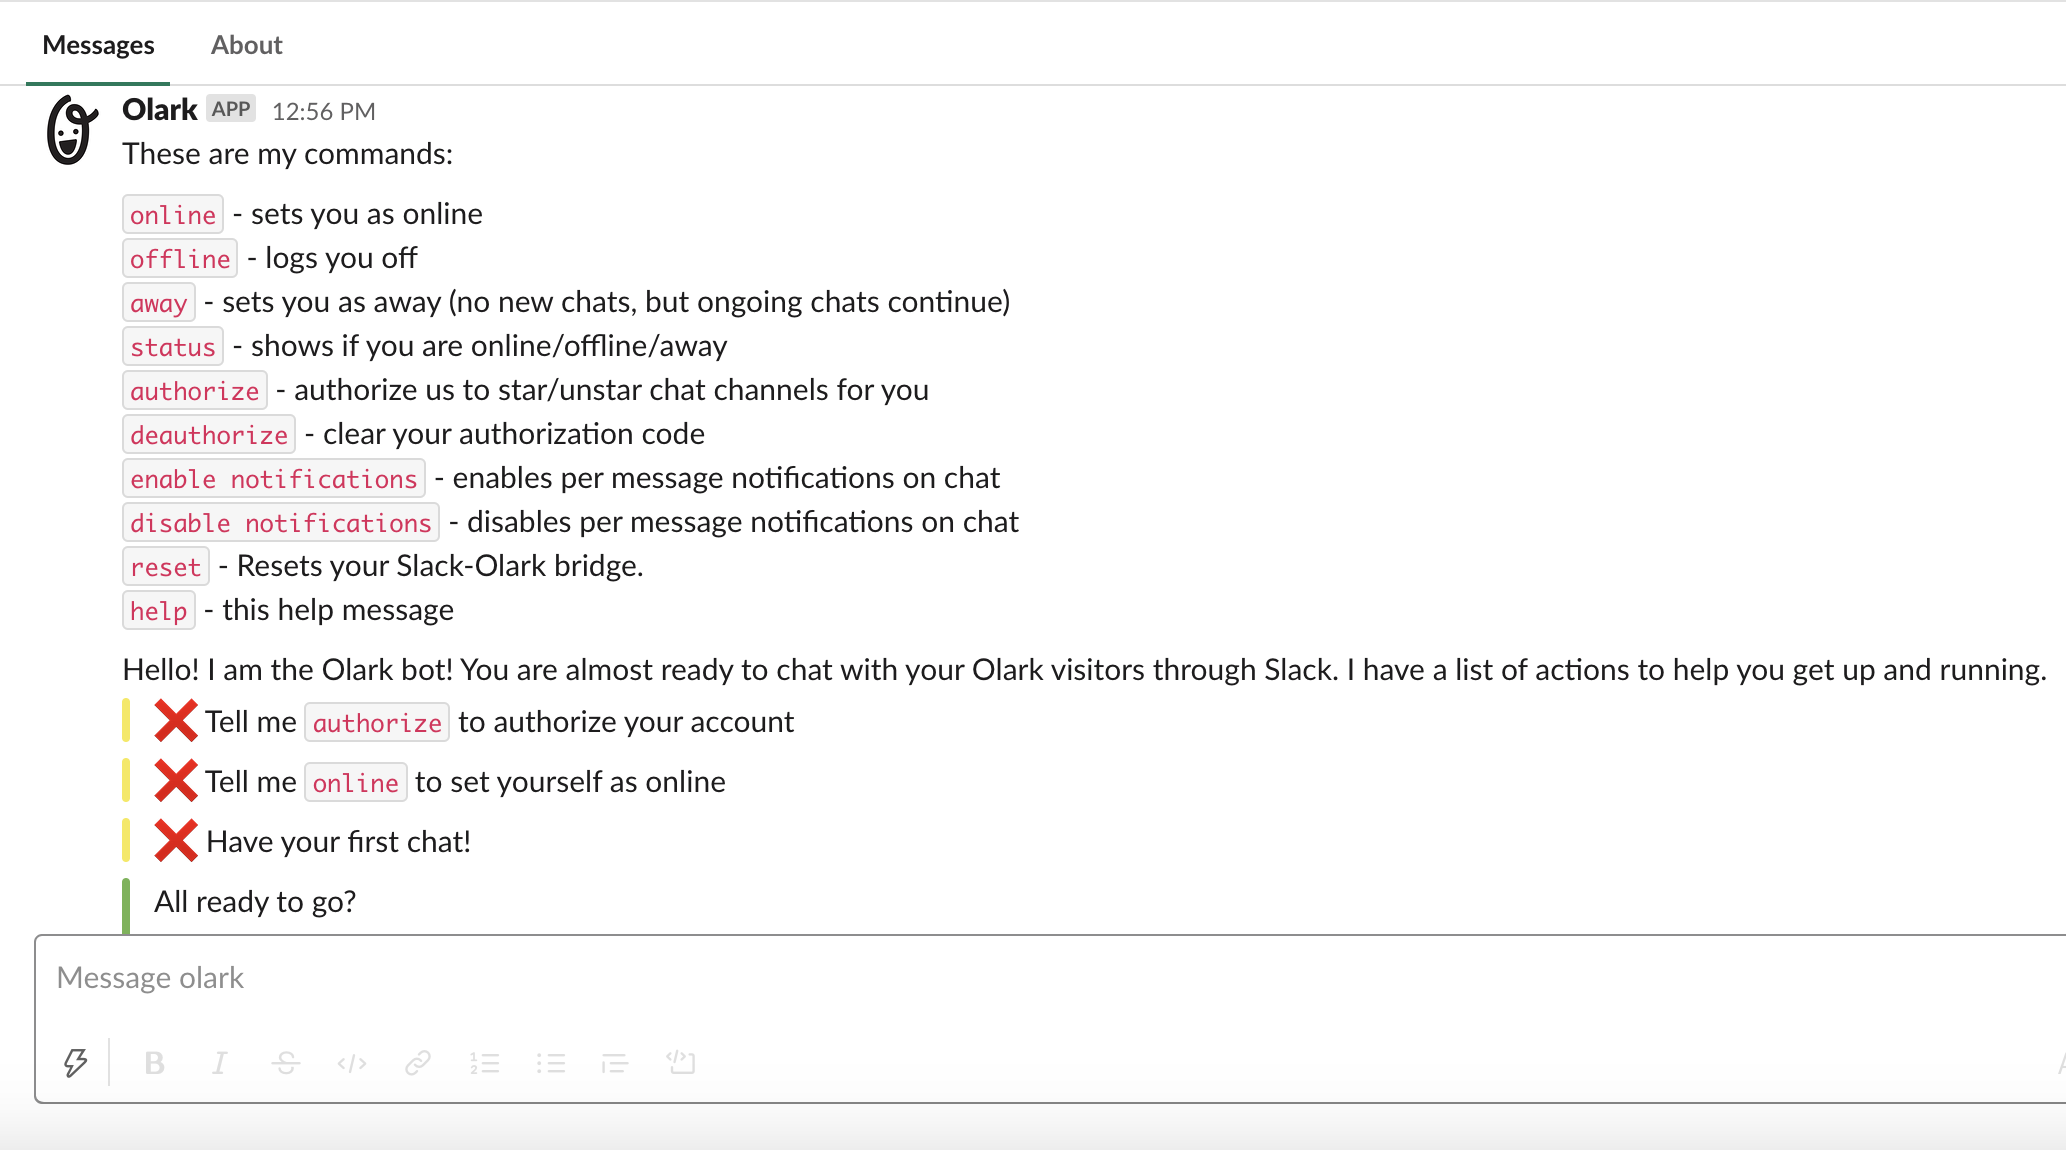
- Chat with the “Olark bot" to set/change your Olark status. You can find it under "Apps" at the bottom-left of your Slack application. Search for "Olark" and then chat with it.

- You'll be able to talk to the Olark bot to update your chat status. For example, you can type online to set yourself online - this will allow you to chat with visitors on your site. Typing offline will sign you out of chat, and away will set you to unavailable, or Not Accepting new chats if you're used to using our chat console.
Chatting with your customers
You'll want to first ensure that the option is enabled from your Slack integration settings page:

Each new incoming chat will create a new Slack channel that starts with #z-olark. The behavior of starting conversations will depend on your Olark Chat Routing setting.
Round Robin routing (recommended)
Chats will automatically be assigned to agents (in sequential order) if their status is online. The assigned agent will see a new z-chat channel populate to chat with the visitor one-on-one in their Slack console:

Note: Unassigned agents won't see the z-olark-chat channel in their own Slack dashboard, but may be able to access it if given the #channel-name. The visitor will only be able to see messages from the actively assigned agent, regardless of how many members are in the channel.
All Agents routing
When a new chat starts, a link will appear in the channel you’ve selected under, Send incoming chats to this channel, on the Slack integration page.

The first agent to click on, join and respond to the new #z-olark-chat channel will be locked in to talk to that visitor:

Transferring Chats
You can use the !transfer command one of three ways:
- Use !transfer (and you can then an optional message).
- We will unlock the chat and send a message to the Olark Lobby channel. If you add a message (e.g. !transfer can someone else get this?), your message will also appear.
- Mention a fellow agent using their @ Slack handle (e.g. !transfer @fernando).
- We will unlock the conversation, invite the Slack user to the channel, and tell them they have a transferred chat. If the specified user doesn’t have an Olark account linked, we will tell you.
- Mention a fellow agent using their Olark username (e.g. !transfer @fernando_olark if we assume fernando_olark is their Olark username).
- We will unlock the conversation, invite the agent to the channel, and tell them they have a transferred chat. If the user doesn’t have an Olark account linked to Slack, we will try sending them a message in Olark. This could happen if you have agents split between chat.olark.com and Slack.
Olark Assistant
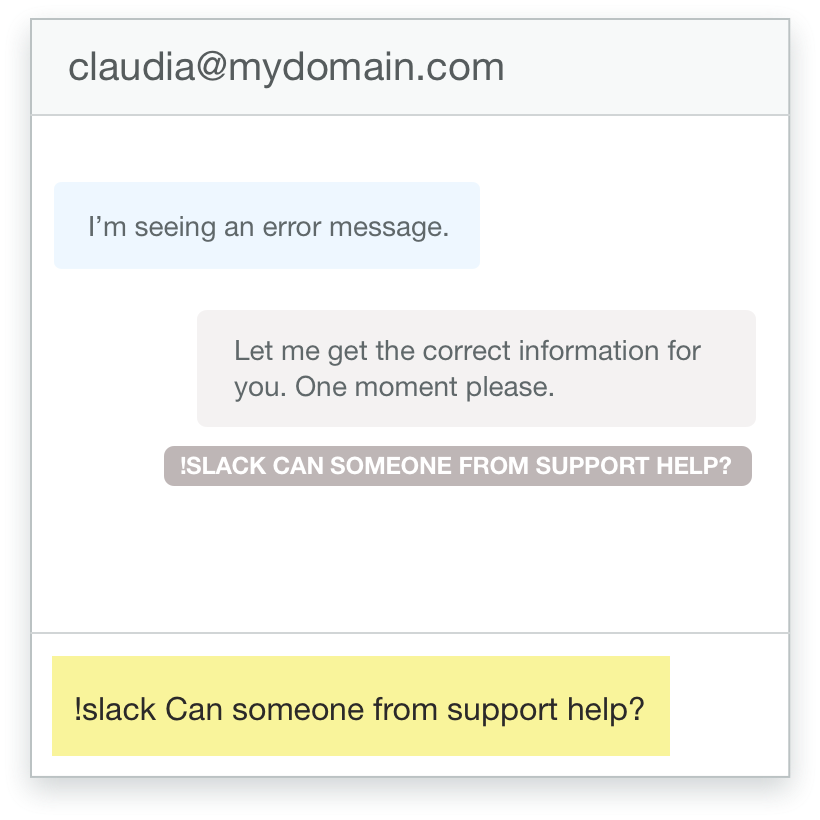
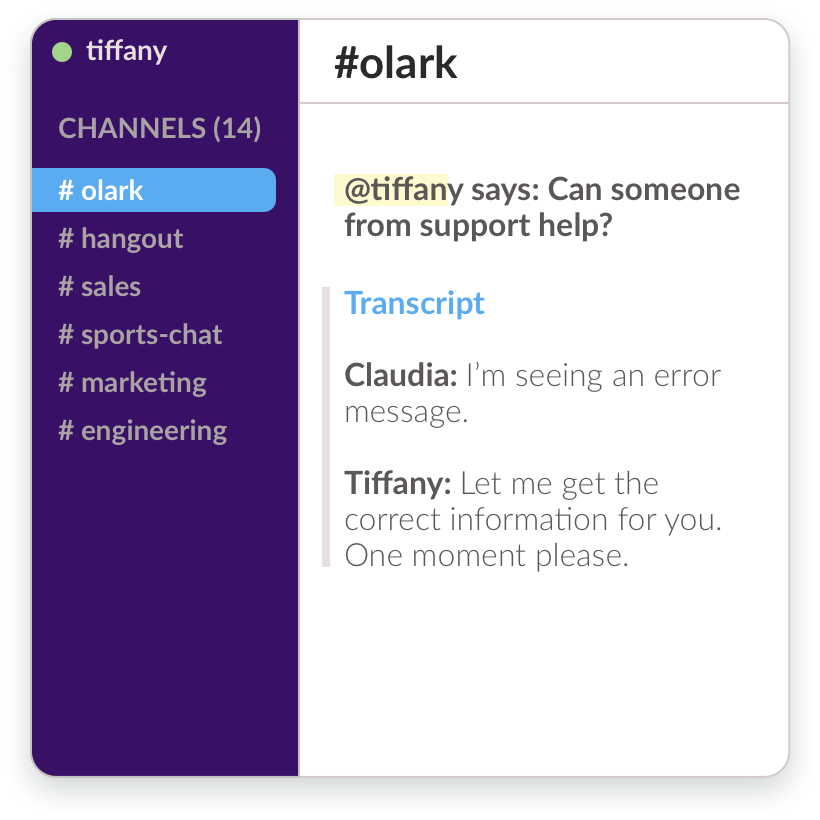
During a chat, you can type !slack (and an optional message), and the transcript will be sent to the channel you specified!
Troubleshooting
Often times, when an integration is causing issues, a good first step to take is disconnecting and then reconnecting the integration from your Slack Integration page. If agents are having connection issues, we also offer a Reset command that will reset the Slack<->Olark connection.

After the reset has been made, you can type authorize to re-authorize the connection and then type online to start chatting!

If you're still running into issues, definitely start a chat with us, or send us a ticket if we're not around so that we can help!
